How To Connect To Raspberry Pi Remotely Over The Internet: The Ultimate Guide
Listen up, tech enthusiasts! If you're reading this, chances are you're trying to figure out how to connect to your Raspberry Pi remotely over the Internet. It’s a game-changer, trust me. Imagine being able to control your Pi from anywhere in the world—whether you're tweaking a home automation system or accessing files on your personal server. This guide is here to show you the ropes, step by step, so buckle up!
Now, before we dive deep into the nitty-gritty, let me break it down for you. Remote access to your Raspberry Pi isn’t just a cool trick; it’s a powerful tool that opens doors to endless possibilities. Whether you're a hobbyist or a pro, having remote access means flexibility, convenience, and the ability to troubleshoot issues without being physically present. So, are you ready to level up your Pi game?
One thing to keep in mind: while connecting remotely is awesome, it’s crucial to prioritize security. We don’t want any sneaky hackers getting into your setup, right? Don’t worry—I’ll walk you through everything you need to know to stay safe while enjoying the benefits of remote access. Let’s get started!
- How To Check My Balance On My Vanilla Gift Card A Quick And Easy Guide
- Current Time In Mexico City A Comprehensive Guide For Time Zone Awareness
Why Connect to Raspberry Pi Remotely Over the Internet?
First things first, why would you even want to connect to Raspberry Pi remotely over the Internet? Well, the answer is simple: convenience. Picture this—you’re at work, and you suddenly remember you forgot to update a script on your home server. With remote access, you can log in, make the changes, and save the day—all without leaving your desk. How cool is that?
Besides convenience, remote access also allows you to:
- Monitor and manage your projects from anywhere.
- Access files stored on your Pi, no matter where you are.
- Run scripts and applications remotely.
- Set up a headless Raspberry Pi without needing a monitor.
And let’s not forget the security aspect. By setting up remote access correctly, you can ensure your Pi is protected from unauthorized access. It’s like giving your Pi a virtual fortress while still being able to control it with ease.
- 2025 Toyota 4runner Release Date Everything You Need To Know
- What Time Of The Day Is 12pm Unveiling The Mystery Behind Noon
What You’ll Need to Get Started
Before we jump into the technical details, let’s talk about what you’ll need to connect to Raspberry Pi remotely over the Internet. Here’s a quick checklist:
- A Raspberry Pi (duh!).
- An active Internet connection for both your Pi and your remote device.
- A SSH client (we’ll talk about this later).
- A static IP address or dynamic DNS service.
- A firewall with port forwarding enabled.
Now, don’t freak out if some of these terms sound unfamiliar. I’ll explain everything in detail as we go along. The goal here is to make sure you’re fully prepared before diving into the setup process.
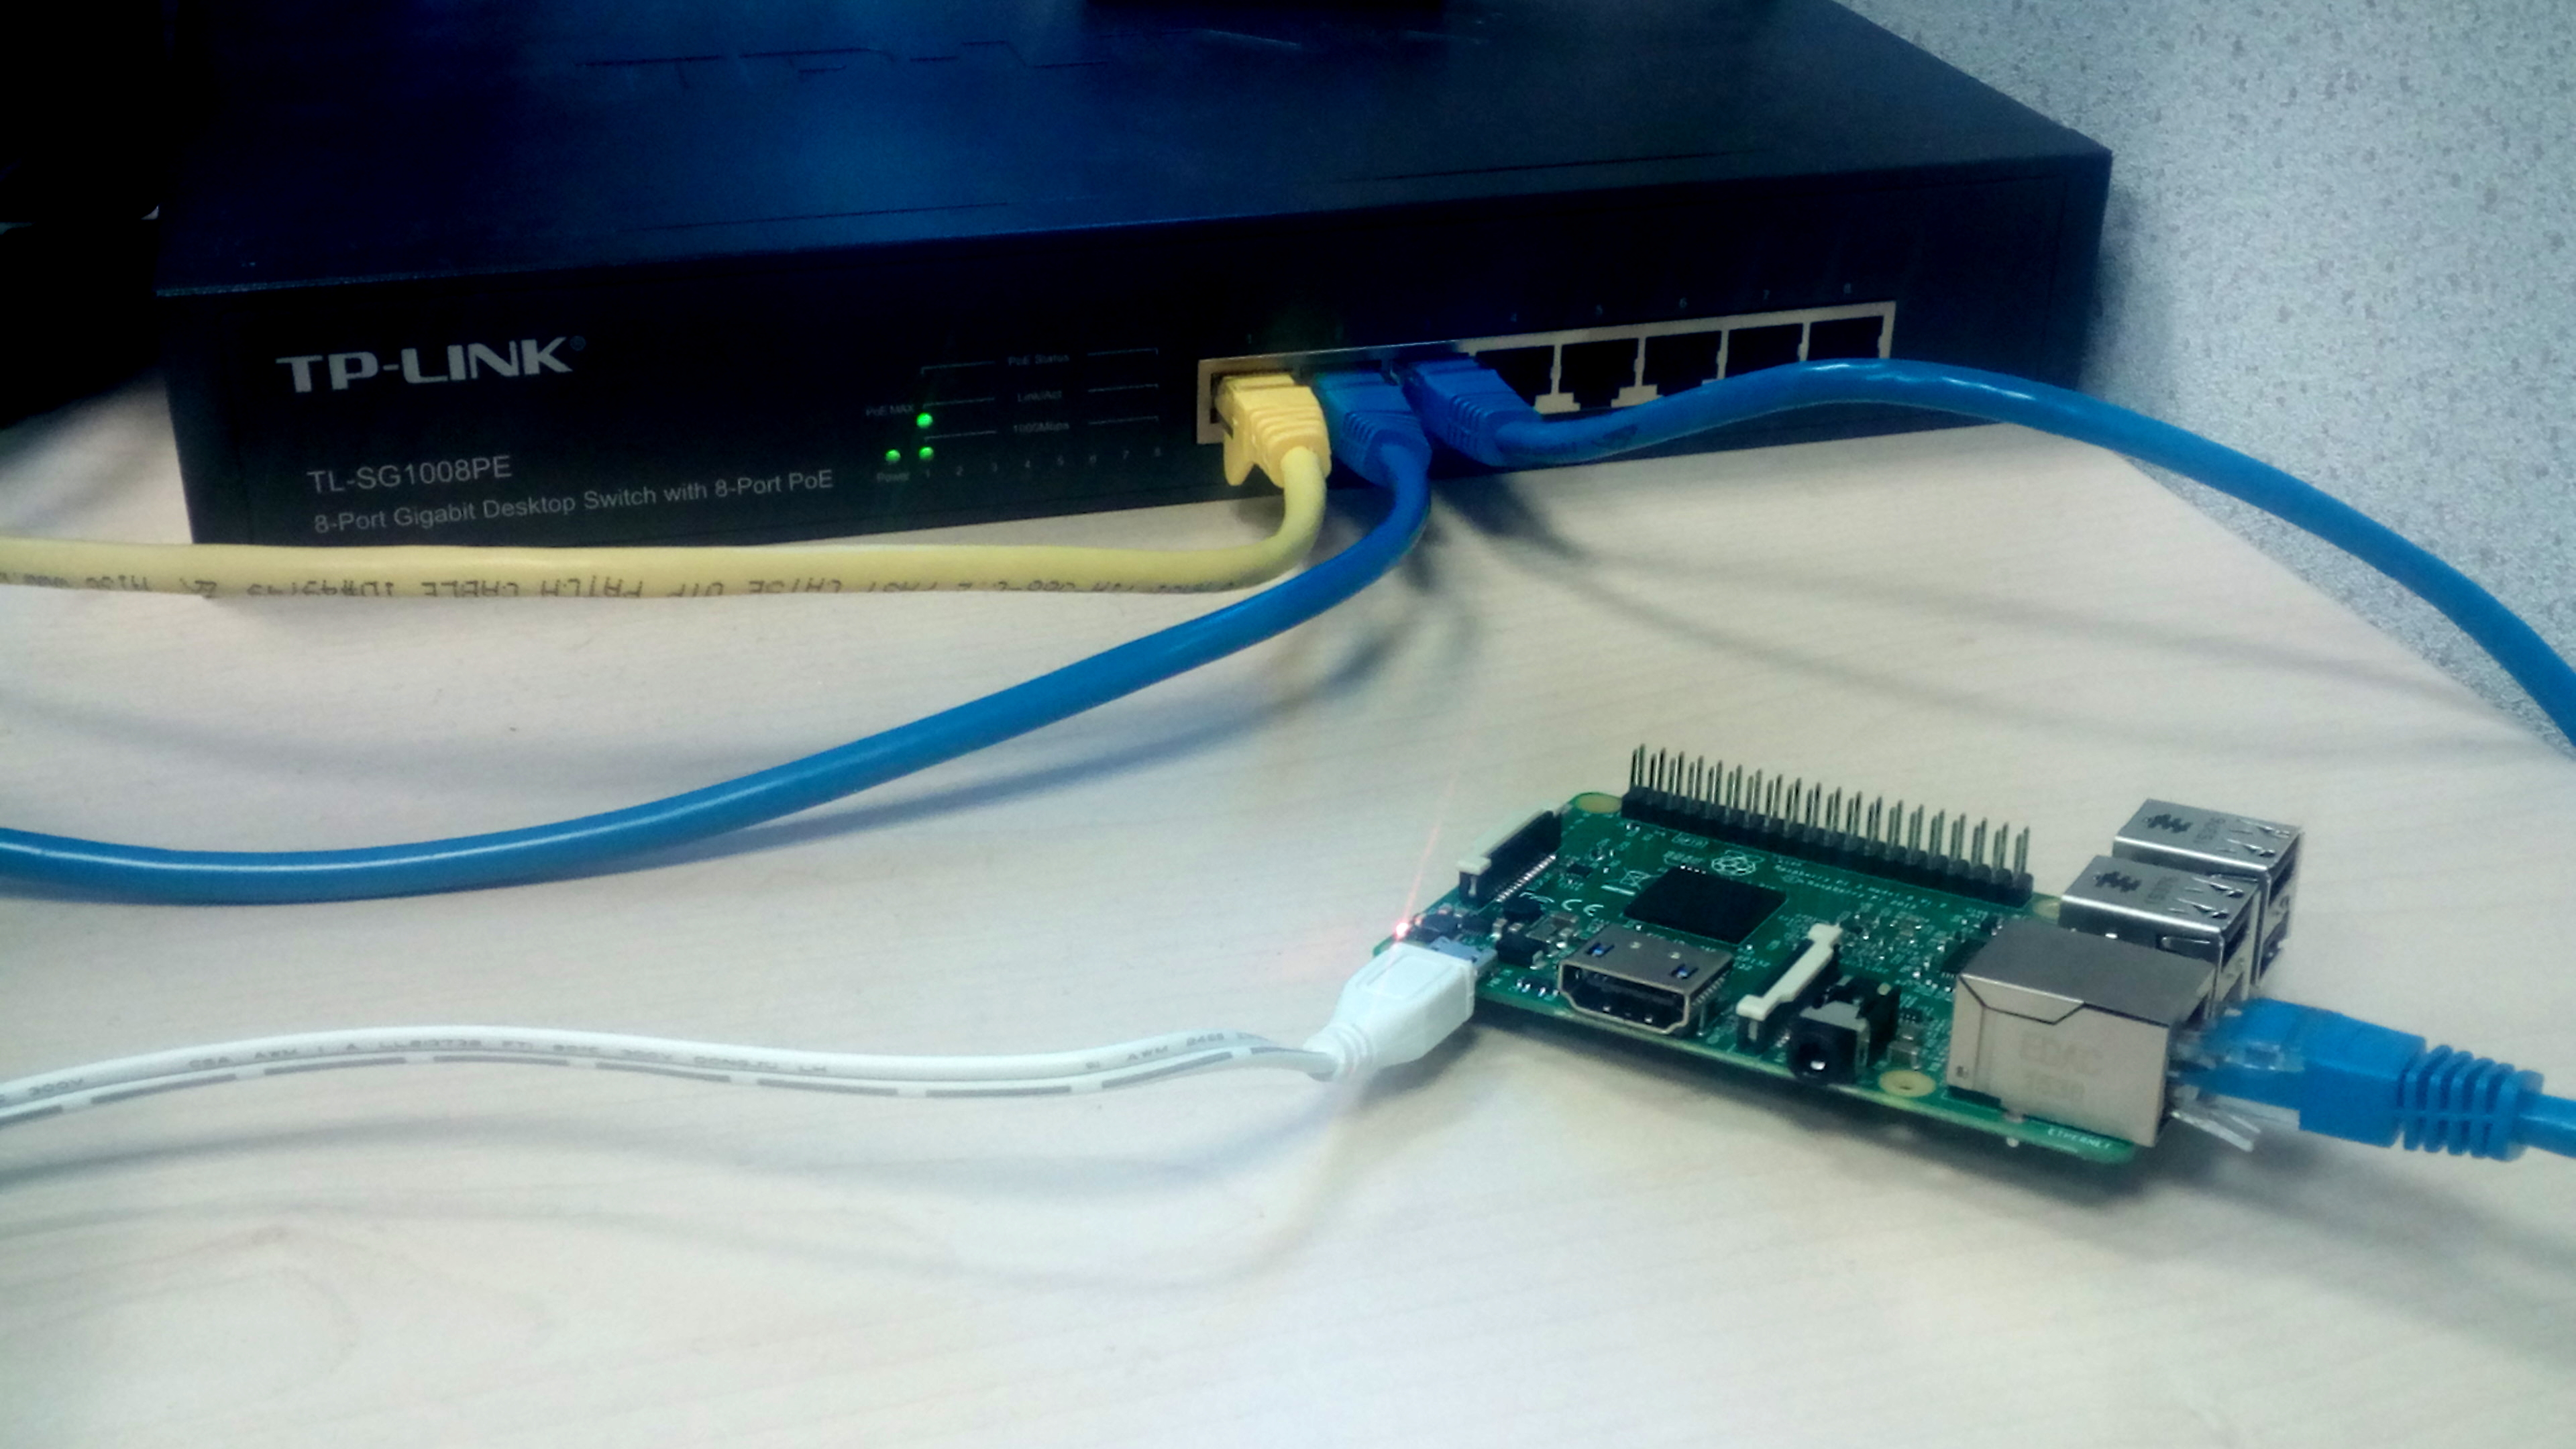
Setting Up SSH on Your Raspberry Pi
SSH, or Secure Shell, is your best friend when it comes to connecting to Raspberry Pi remotely over the Internet. It’s a secure way to access your Pi’s command line from another device. Here’s how you set it up:
Step 1: Enable SSH on your Raspberry Pi. You can do this by going to the Raspberry Pi Configuration tool or by using the terminal:
sudo raspi-config
Once you’re in the config menu, navigate to “Interfacing Options” and enable SSH.
Step 2: Check if SSH is running. Use this command:
sudo systemctl status ssh
If it’s active, you’re good to go!
Why SSH Matters
SSH isn’t just a fancy acronym—it’s a powerful tool that ensures your connection is encrypted and secure. Without it, anyone could potentially intercept your data. So, yeah, it’s kind of a big deal.
Assigning a Static IP Address
Alright, here’s where things get interesting. To connect to Raspberry Pi remotely over the Internet, you’ll need to assign a static IP address to your Pi. Why? Because a dynamic IP address can change, making it harder to establish a consistent connection.
To assign a static IP, follow these steps:
- Find your current IP address using the command:
- Open the dhcpcd configuration file:
- Add the following lines at the bottom:
ifconfig
sudo nano /etc/dhcpcd.conf
interface eth0
static ip_address=192.168.1.100/24
static routers=192.168.1.1
static domain_name_servers=192.168.1.1
Save the file and reboot your Pi. Voilà! Static IP set up.
Setting Up Port Forwarding
Port forwarding is like creating a secret tunnel that allows you to connect to Raspberry Pi remotely over the Internet. It tells your router which device to send incoming traffic to. Here’s how you do it:
Step 1: Log in to your router’s admin panel. Usually, you can do this by typing the router’s IP address into your browser.
Step 2: Navigate to the port forwarding section. Add a new rule that forwards port 22 (the default SSH port) to your Pi’s static IP address.
Step 3: Save the settings and test the connection.
Pro tip: If you’re not comfortable messing with ports, consider using a service like ngrok or PageKite to simplify the process.
What If Port Forwarding Doesn’t Work?
Don’t panic if you run into issues. Sometimes, ISPs block certain ports. In that case, try using a different port number or contact your ISP for assistance.
Using Dynamic DNS for Easy Access
Dynamic DNS (DDNS) is a lifesaver when it comes to connecting to Raspberry Pi remotely over the Internet. Instead of remembering a long IP address, you can use a friendly domain name like “mypiproject.ddns.net” to access your Pi.
Here’s how to set it up:
- Sign up for a DDNS service like No-IP or DuckDNS.
- Create a hostname and link it to your Pi’s public IP address.
- Install the DDNS client on your Pi to keep the hostname updated.
With DDNS, you’ll never have to worry about remembering IP addresses again. Plus, it’s free!
Securing Your Remote Connection
Security should always be a top priority when connecting to Raspberry Pi remotely over the Internet. Here are a few tips to keep your Pi safe:
- Change the default SSH port to something less obvious (e.g., 2222).
- Use strong passwords or SSH keys for authentication.
- Enable a firewall to block unauthorized access.
- Regularly update your Pi’s software to patch vulnerabilities.
Remember, a little extra effort now can save you a lot of headaches later. Stay vigilant!
SSH Keys: The Ultimate Security Boost
SSH keys are like digital fingerprints that allow you to log in without entering a password. To set them up:
- Generate a key pair on your remote device:
- Copy the public key to your Pi:
- Disable password authentication in the SSH config file:
ssh-keygen -t rsa -b 4096
ssh-copy-id pi@your-pi-ip
sudo nano /etc/ssh/sshd_config
Set PasswordAuthentication no and restart SSH.
Boom! Your connection is now super secure.
Testing Your Remote Connection
Now that everything is set up, it’s time to test your connection to Raspberry Pi remotely over the Internet. Open your SSH client (like PuTTY or Terminal) and enter the following command:
ssh pi@your-pi-domain
If all goes well, you should see the familiar Pi login screen. Congrats—you’ve successfully connected!
Troubleshooting Common Issues
Encountering problems? Here are a few common issues and their solutions:
- Error: Connection Refused: Check your firewall settings and ensure port forwarding is correct.
- Error: Host Key Verification Failed: Delete the known_hosts file on your remote device and try again.
- Error: Timeout: Double-check your IP address and DDNS settings.
If none of these work, don’t hesitate to reach out to the Raspberry Pi community for help.
Exploring Advanced Features
Once you’ve mastered the basics of connecting to Raspberry Pi remotely over the Internet, it’s time to explore some advanced features. Here are a few ideas:
- Set up a VNC server for graphical remote access.
- Create a web dashboard to monitor your Pi’s status.
- Automate tasks using cron jobs.
- Integrate your Pi with cloud services like AWS or Google Cloud.
The possibilities are endless. Let your creativity run wild!
How About VNC for GUI Access?
If you prefer a graphical interface, VNC is the way to go. It allows you to control your Pi’s desktop remotely. To set it up:
- Enable VNC in the Raspberry Pi Configuration tool.
- Download a VNC client on your remote device.
- Connect using your Pi’s IP address or DDNS hostname.
Simple, right? Now you can enjoy full GUI access from anywhere.
Conclusion
And there you have it—a comprehensive guide on how to connect to Raspberry Pi remotely over the Internet. From setting up SSH to securing your connection, we’ve covered everything you need to know to make the most of your Pi’s remote capabilities.
Remember, the key to success is preparation and security. Take the time to set everything up properly, and you’ll be rewarded with a powerful tool that can enhance your projects and streamline your workflow.
So, what are you waiting for? Grab your Pi, follow the steps, and start exploring the world of remote access. And don’t forget to share your experience in the comments below. Happy tinkering!
Table of Contents
- Why Connect to Raspberry Pi Remotely Over the Internet?
- What You’ll Need to Get Started
- Setting Up SSH on Your Raspberry Pi
- Assigning a Static IP Address
- Setting Up Port Forwarding
- Using Dynamic DNS for Easy Access
- Securing Your Remote Connection
- Testing Your Remote Connection
- Exploring Advanced Features
- Conclusion
- Prodigy Warden The Hidden Guardians Of The Gaming World
- Matthew Rhys The Actor Who Turned Passion Into Stardom

Raspberry Pi Connect Beta Access your Raspberry Pi from anywhere
Connect Raspberry Pi To Through Laptop Raspberry
Raspberry Pi 3 Model B+ Raspberry Pi
